
Unlock the Secrets to Growing Ginger at Home: A Step-by-Step Guide
Ginger is one of those magical plants that bridges the gap between garden and kitchen, offering vibrant flavor and versatility. Whether you’re sprinkling it into a stir-fry, brewing a soothing tea, or even candying it for a sweet treat, ginger is a staple in cuisines worldwide. As one of the first crops exported from Asia, this powerhouse plant has been cherished for centuries. In this guide, we’ll dive into how to grow ginger in a container, ensuring you get a bountiful harvest, and even explore how to transform your homegrown ginger into a fragrant, versatile powder. Let’s get started and cultivate some epic ginger!
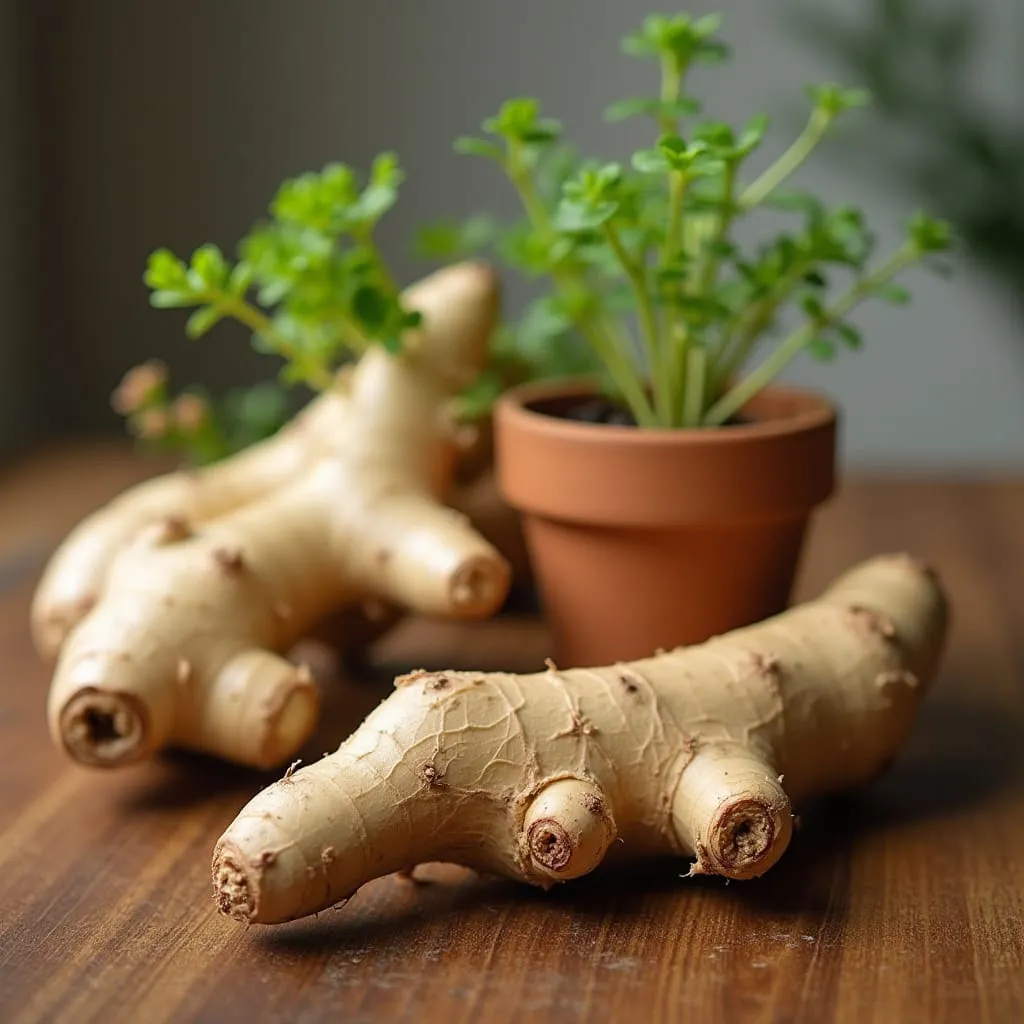
Understanding Ginger: It’s Not a Root, It’s a Rhizome
Before we dig into the growing process, let’s clear up a common misconception: what we call “ginger root” is actually a rhizome, a modified underground stem. This main stem of the ginger plant is what we harvest and use in cooking. When growing ginger, you’ll plant a piece of this rhizome, which will sprout into a lush, tropical-looking plant. The ginger plant, including varieties like Thai ginger (Alpinia galanga), thrives in specific conditions, but with the right setup, you can grow it almost anywhere.
Choosing the Right Ginger for Planting
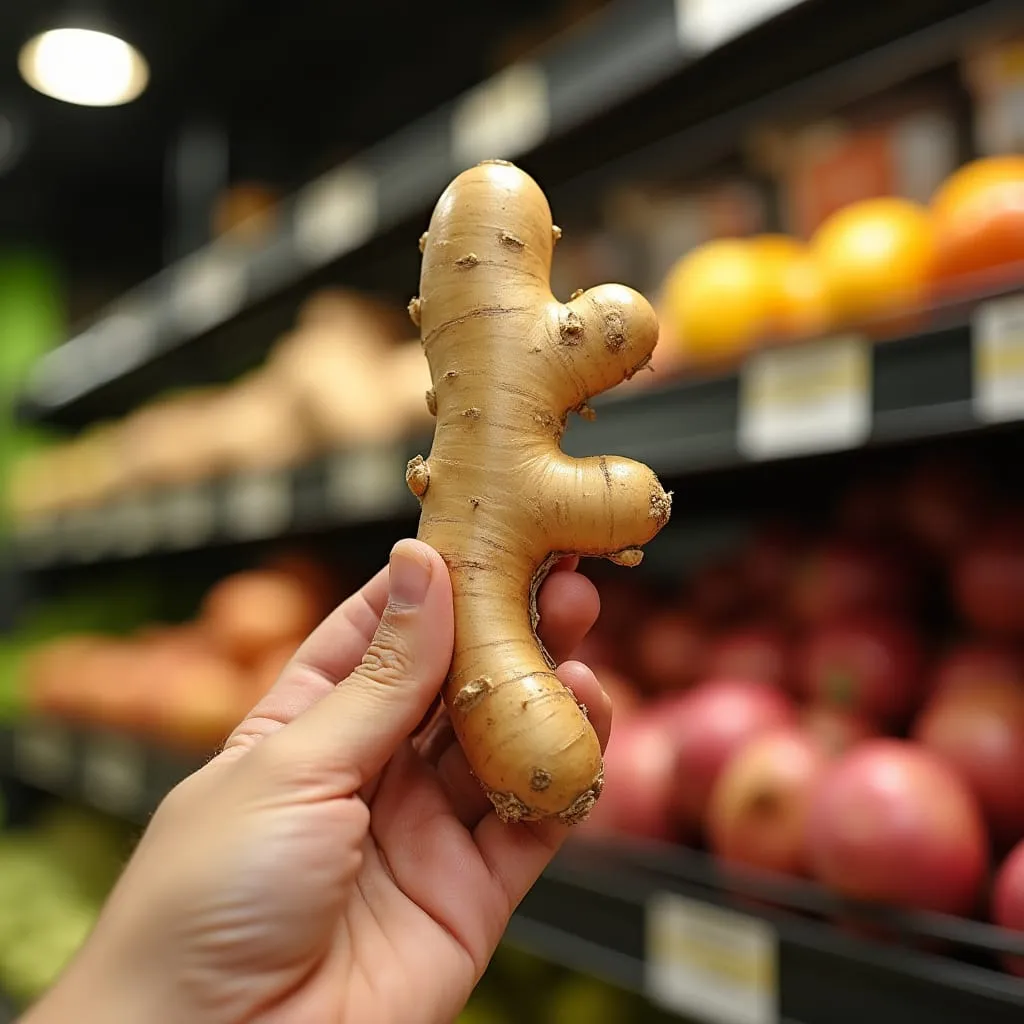
The beauty of growing ginger is that you can start with something as simple as a piece from your local grocery store. When selecting ginger, look for chunks with small “eyes” or growth points—these are where new shoots will emerge. You might even spot some already sprouting. Opt for larger pieces, as they’ll produce more shoots, leading to faster growth and a bigger harvest. The more eyes, the more sprouts, which means more photosynthesis and, ultimately, more ginger for you.
For example, a single large rhizome with multiple eyes can produce five or six shoots, while a smaller piece might only yield one or two. More shoots translate to more robust growth above and below the soil, so don’t skimp on size when picking your starter piece.
Selecting the Perfect Container and Soil
Since ginger rhizomes grow horizontally, a wide, shallow pot is ideal for container gardening. Unlike deep-rooted crops like potatoes, ginger doesn’t need a tall container. A pot that’s at least 12-18 inches wide and about 8-10 inches deep works well, allowing the rhizome to spread out as it grows.
For soil, choose a high-quality potting mix that’s loose and rich in organic matter. This gives the rhizome room to expand while providing the nutrients it craves. A mix with good drainage is key, but it should also retain enough moisture to mimic ginger’s tropical origins. You can find pre-made potting mixes at garden centers or make your own by blending compost, peat moss, and a bit of sand for aeration.
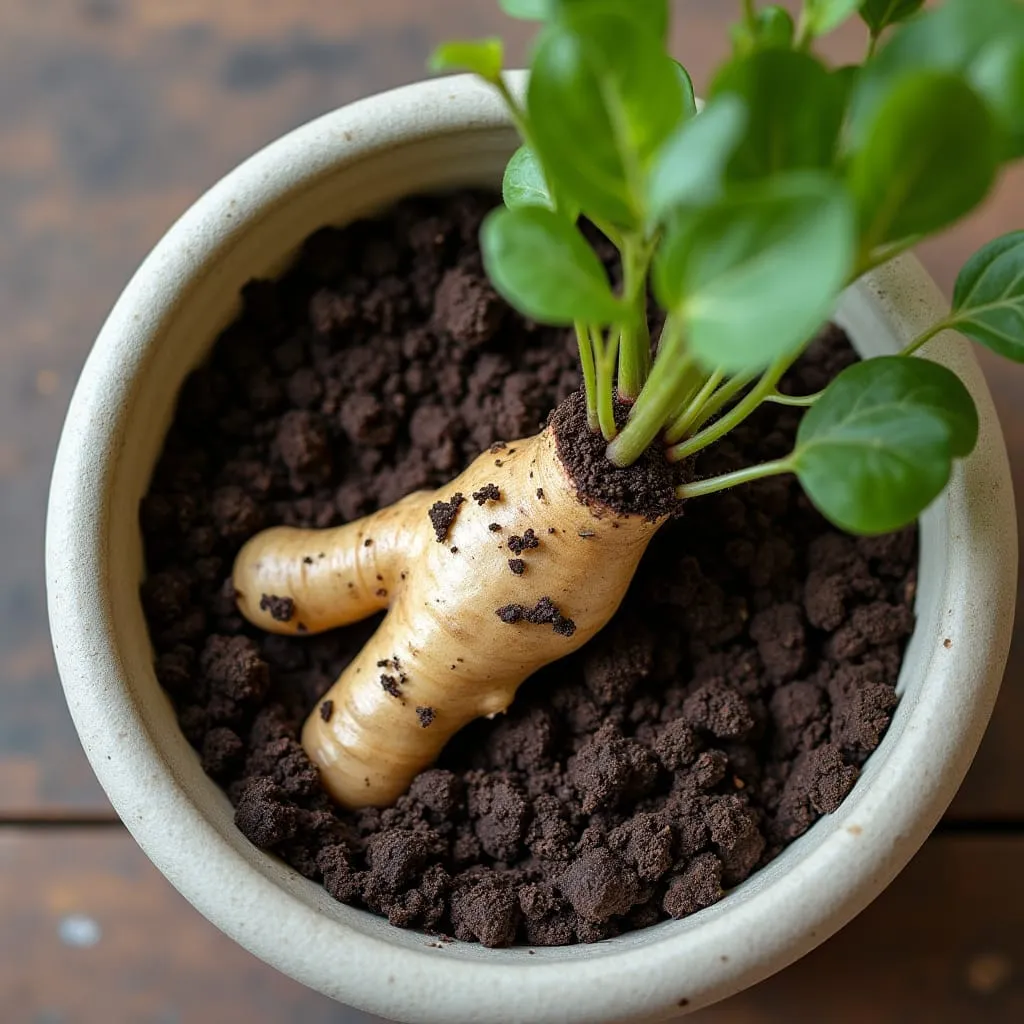
Planting Your Ginger: Simple Steps for Success
Planting ginger is straightforward. You don’t need to bury the rhizome deep—about half an inch to three-quarters of an inch of soil cover is plenty. Place the rhizome with the eyes facing up, press it gently into the soil, and give it a light watering to settle it in. Avoid overwatering at this stage since there are no roots or shoots yet. Just keep the soil moist, about two inches deep, until growth begins.
While you can pre-sprout ginger in a bowl of water to kickstart root and shoot development, it’s not necessary. The rhizome will start growing in the soil just fine with a bit of patience. Expect sprouts to appear in a few weeks, depending on conditions.
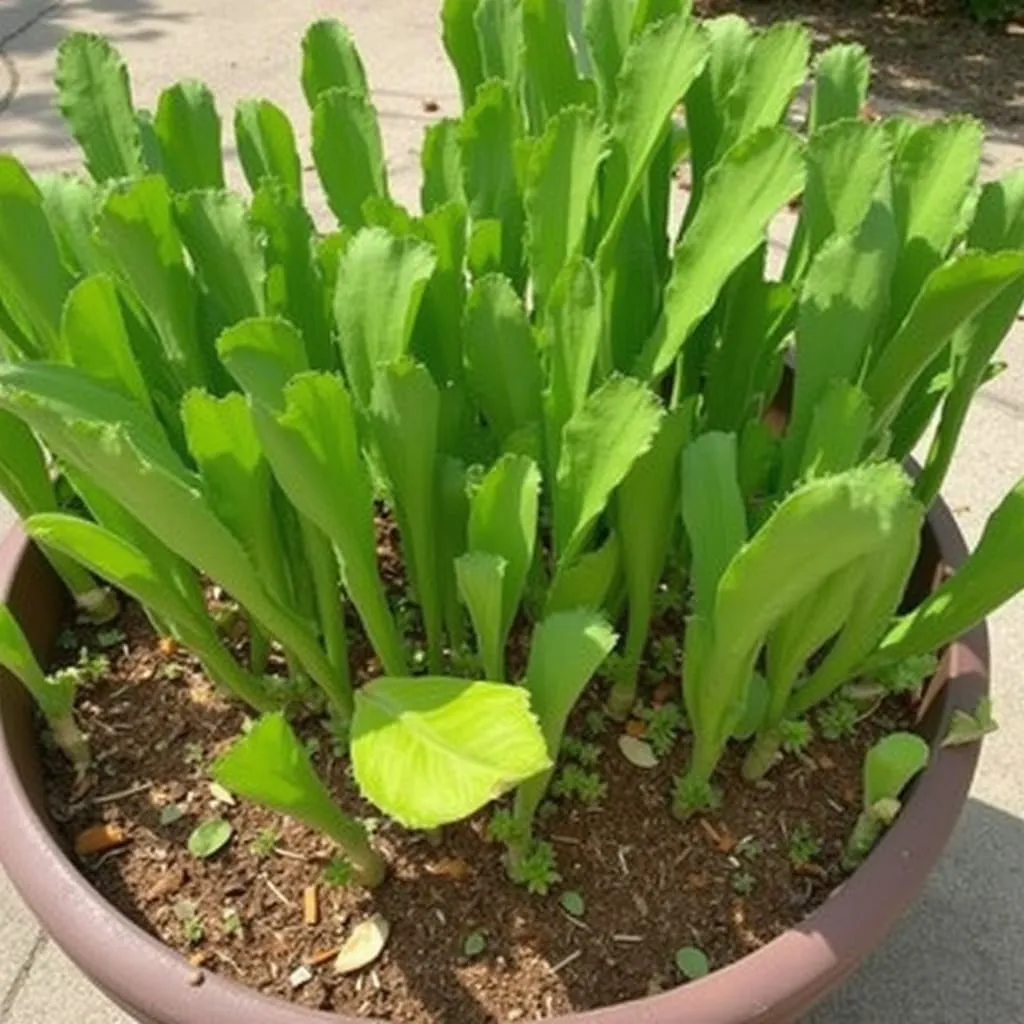
Caring for Your Ginger Plant
Ginger hails from Southeast Asia, where it thrives in warm, humid, and rainy conditions. To mimic this tropical climate, start your ginger indoors in spring, especially if you live in an area with frost. Once sprouts appear and the weather warms, you can move the container outside to a spot with partial shade—ginger loves warmth but doesn’t need direct, scorching sun.
Keep the soil consistently moist but not soggy. If you notice browning tips on the leaves, it’s a sign the soil is too dry. Add a layer of mulch, like woodchips, to retain moisture, and water a bit more frequently. If the leaves start yellowing, your plant might need a nutrient boost. A sprinkle of organic granular fertilizer or a dose of liquid fertilizer can do wonders.
Overwatering is a risk in containers, so ensure your pot has drainage holes to prevent the rhizome from rotting. If the plant flowers, don’t worry—ginger flowers are edible and add a decorative touch. Simply keep an eye on your plant, and you’ll quickly learn its needs.
Troubleshooting Common Ginger Problems
Ginger is relatively easy to grow if you match its conditions to its tropical roots. Here are three common issues and how to fix them:
- Browning Tips: This usually means the soil is too dry. Increase watering slightly or add mulch to lock in moisture. A container with slightly less drainage might also help, as long as you don’t overdo it.
- Yellowing Leaves: Ginger is nutrient-hungry, so yellowing could signal a deficiency. Apply an organic fertilizer to give it a boost.
- Soggy Rhizomes: Too much water can cause rot. Ensure your container drains well, and cut back on watering if the soil feels overly wet.
Observation is your best tool—pay attention to your plant’s signals, and you’ll become a ginger-growing pro in no time.
Harvesting Your Ginger
After about four to five months, your ginger should be ready for its first harvest, though you can wait longer for a larger yield. If you live in a warm climate where ginger can overwinter, you can snap off new rhizome chunks and leave the rest to keep growing. This method minimizes disturbance to the plant. In colder climates, harvest the entire rhizome before the first frost, as the plant will die back in cold weather.
Once harvested, wash and clean the rhizomes. Use what you need immediately, and store the rest in a cool, dry place like a root cellar for replanting next spring. This way, your ginger can keep producing year after year.
[Insert Image Placeholder: A freshly harvested ginger rhizome being washed under running water, with a pile of cleaned rhizomes on a kitchen counter.]
Bonus: Turning Your Ginger into Powder
One of the most rewarding ways to use your homegrown ginger is to turn it into a versatile powder. Ginger powder is perfect for teas, seasonings, baked goods, and even medicinal remedies. Here’s how to do it:
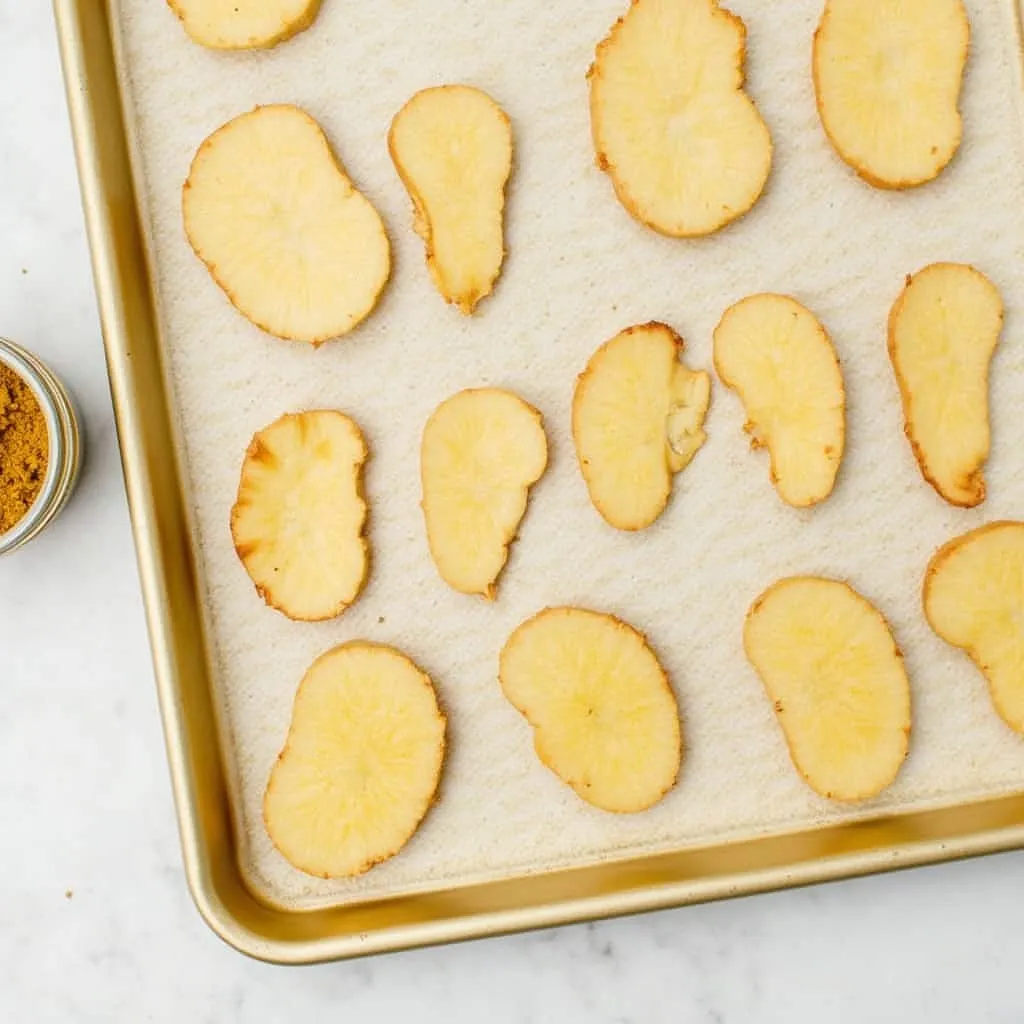
- Prepare the Ginger: Wash and scrub your harvested rhizomes thoroughly. Slice them into thin, uniform pieces to ensure even dehydration.
- Dehydrate: Lay the slices on a dehydrator tray (a budget-friendly model like a Nesco works great) and dry at 115°F for three to four hours, or until the slices are crispy and snap easily. If you don’t have a dehydrator, you can dry them in the sun, though it takes longer.
- Grind into Powder: Once fully dehydrated, grind the slices in a spice grinder until you have a fine powder. Store it in an airtight container for months of use.
This powder is a game-changer in the kitchen, adding a warm, spicy kick to any dish. Plus, it’s a fantastic way to preserve your harvest.
Why Grow Ginger?
Growing ginger in a container is not only easy but also incredibly rewarding. Even if you’re in a cold climate, you can grow it indoors as an ornamental plant with lush, fragrant leaves. From garden to kitchen, ginger offers endless possibilities, from fresh culinary uses to homemade powders that elevate your cooking. So grab a rhizome, plant it in a pot, and watch it thrive. With a little care, you’ll be harvesting your own ginger in no time, ready to spice up your meals and impress your friends.
Happy gardening, and keep on growing!